Wednesday, November 3, 2010

Christmas is Coming!


I am thinking I want to do our tree in ivory and chocolate red this year so started making some ornies this morning. I call these Noah's Stars since my Grandson taught me how to make them. I also like them deconstructed as individual ornies so may leave some that way, too. Thank you, Little Punkin'!

Crown the Queen!


I made a crown from one of my hubby's old oxford shits for one of our daughter's for her birthday. BUT a crown can be worn all year round, you know......Especially when you are the Queen of Everything! I painted, stamped, pinwheeled and added vintage trim and buttons.

Katie Bug's Necklace


If you are familiar with Fancy Nancy....we have a grand daughter that gives her a run for her money on accessorizing AND our Katie is much prettier, too! Here is a necklace I made for Katie for her birthday. It has everything on it but the kitchen sink!

Dotee Dolls I Made for Swap


Pumpkin Made From Fabric Printed from Ephemera

Catching Up On Creations...

I wanted to leave the mini art quilt tutorial up as long as possible, but now need to move on! I have finished my Dotee Dolls for the Milliande Swap and another pumpkin using some vintage images printed on muslin. I will post pictures when Blogger stops giving me an error message!

I had to go back to the old Editor to get pictures to load. Just an FYI if any of you are having problems!
Kit

Wednesday, October 13, 2010

Mini Art Quilt Necklace Tutorial and Freebee!


Mini Art Quilt Tutorial and Give Away to Everyone!

As promised, I am posting the Tutorial on how I make my Mini Art Quilt Necklaces. I am actually posting it early so you can make yours to wear to Vanessa’s Halloween Party if you would like! I am still learning my way around my Blog so I hope the pictures come out in the right order of the directions. Refer to them as needed. I think you can click on them to make them bigger to see more detail. If you have any questions, just email me. Please leave a comment as to whether you made one or not and if you would like, send me a picture and I will post it on my Blog with a link back to yours! Here we go....

I like to make mine with three little quilts. I just like an odd number of things and one isn’t enough for me and five is too many to wear on my chest unless I make them smaller, so I do three. There are no rules, just tools! These are our creations and we can do whatever we want! I’m just telling you how I did it. You could just do one if you like and decorate the bejebee’s out of it! Make it a giggle, or a WOW factor or anything that will get attention. That’s the whole point, right?! Make it something that you will look down at and say “I LOVE, LOVE, LOVE this!”

I like to make a long narrow Mini Art Quilt to use as the “hanger.” Then I tack my other two mini quilts to that piece. The process is to decide and audition fabrics for the front and the back, keeping in mind these are self binding mini quilts so your backing fabric becomes the binding that shows on the front. Make sure you cut all your fabrics on the straight of the grain. You also need to decide if you want to embellish the front fabric before you assemble your mini quilt. On the BeWitched necklace I made for my niece, I printed a photo on muslin, free motion stitched it on the front fabric though the batting and then stamped it before I assembled. I did the beading after I assembled and that was my part of my quilting. Scroll down to the BeWitched Mini Art Quilt Necklace Post to see several photos of it.

Assembling:

Cut your backing fabric 1” larger than the finished mini quilt size you desire. If your fabric has a heavier hand cut it 1 ½” larger to allow for the thickness when folding. I did this on the BeWitched Necklace I made for my niece as the fabric was heavier than the fabric I used on my “Green is my FAVORITE color” Mini Art Quilt Necklace.

I wanted a 3” x 6” rectangle for my “hanger” so I cut my backing fabric 4” x 7”. I used 5” x 5” and 4” x 4” Finished Dimensions for my other two Mini Art Quilts in my Green necklace, but again, use any sizes you want.

Cut your front fabric the SAME dimension as you want the finished mini quilt, so I cut my front fabric 3” x 6” for my long rectangle. Cut your batting the same 3” x 6” (I use Warm and Nat, but use any that you like to quilt through).

Next, lay it on the ironing board with your backing fabric face down, then the batting centered within the backing fabric and finally lay your front fabric face up on top of the batting. Now you are going to create your border. Fold in your backing fabric 1/4” so it butts up next to the edge of your batting. Press. Go to the opposite side and do the same. Finally do the opposite edges. Now fold your backing fabric over the edge of the front fabric, press and pin. Do this all the way around going with opposite sides as before and paying close attention to the corners. That is where a raw edge may peek out at you! Clip some fabric out of the corners if you need to. This gives your Mini Art Quilt finished sharp edges.

Now you need to decide how you want to sew it....by machine or by hand. I do most of mine by hand, just straight stitching or whip stitching all the way around, being sure to catch the front fabric under the binding. I sometimes do both as you can see in the photo.

Once you get your borders sewn down......embellish away!!! This is the fun part. You can quilt by hand or free motion machine stitching or however you desire. If the top fabric has a print that gives you opportunities to use that design, use it as I did with the beads on the dotted design of the fabric. Or you can just quilt with small stitches all over your mini quilt. Start in the center as you would on any quilt to spread the love...hehehehe...and the fullness.

When you have all your Mini Art Quilts done, fold over the top edge of the hanger piece about 1” and tack down to create a tunnel for your necklace piece to go through. Position your other two mini quilts to your liking and tack only at the top so everyone can flip them up and look under them. Trust me....they will! Put a surprise on the underneath one like I did on the BeWitched.....BOO! That gets a real giggle! You could tack a “signature” plate on the back of each mini quilt by using a piece of interfacing that has the date, the name of the quilt and your name printed on it.

You can hang your Mini Art Quilt from a ribbon, fabric tube, crochet chain or any metal chain. I like to take a 44” x 1” strip of fabric, fold it in half lengthwise, and sew across one short end to close it and fold the other 1” end in to have finished ends. You have to leave one end open to turn it. Then I sew a little over 1/4” from the fold. I trim the seam allowance with pinking shears and then turn it right side out. I use turning tubes. Otherwise, turning a 1/4” tube that is 44” long can be a bummer! You can try walking a safety pin down through the tube to turn it and that will work but you can’t be in a hurry! You can also try using a straw and a skewer with a small ball of stuffing on the end of it. I have also sewn a hanging fabric tube with wrong sides together and then did several rows of stitching, leaving the edges raw. That looks pretty neat, too, when you make it part of the overall design of your necklace. And it’s faster. Ribbon is a great alternative as it won’t rub against you mini quilt like a chain will. A ball chain would be interesting! If you have a great technique for turning long skinny tubes, share with us in the comments please and thank you!

Get ready when you wear yours out and about as people will want to buy them right off your chest. Maybe you should just go ahead and put a price tag on them beforehand. Quick and easy and a great “take along” project when you are ready to quilt and embellish!

Enjoy and let me know if you have any questions or I left anything out. If you don’t want to miss any free future tutorials I am planning, please sign up to follow me so you will see when I post them. Leave me a comment and I will email you a PDF sheet of old ephemera from the late 1800’s and early 1900’s that you could print out on muslin and use as fabric on a Mini Art Quilt. I have the originals of these items as shown in the above photo. It’s a Give Away for everyone! If you prefer not leaving your email address in your comment, just email me at Paperkitz@aol.com and I will send the PDF page to you next week.

Happy Blog Hopping with Vanessa at A Fanciful Twist this weekend and thank you for visiting with me!
Kit

Tuesday, October 12, 2010

Sunday, October 10, 2010

Saturday, October 2, 2010

Photo's On How To Start the RAK Mini Album Below


More Photo's for the RAK Mini Book Article Today


RAK Book


I ended up with a bunch of 8 1/2 x 11" cardstock due to a store closing down so got a real good deal on it because otherwise I always buy 12" x 12" cardstock to make my mini albums. I've had it a couple of years now so I thought I'd better start thinking of a way to use it! I needed some RAK (Random Act of Kindness) to send to friends so here's what I made. I just cut different colors of cardstock into 3 equal strips crossways and mixed and matched the pages of the book. I used my favorite ink stamps and bits and pieces out of my Smile Jar. Make some of your stamped images 3-D by using bits of scrapbook paper like I did on the little girl sitting in the chair. I also used some stamps to make designs on the solid backgrounds before I embellished that page. Make your own vintage postage stamps from your State by reducing a vintage postcard down to stamp size! I also cut the edges of my pages in an alternate curve or straight cut to make each page easier to turn. It seems like my fingernails are always to long or too short to turn pages for some reason! Make a bunch so you ALWAYS have one to give. Use your favorite page design in all the books but change the order of the pages so each one is one of a kind. I attached the pages at the spine with a needle and waxed thread. Then tie on ribbons or practice pieces of beading to the thread on the outside. I like to make some of the pages personal so I try to always have a "It all began like this" page. There you can write when you first met the individual and then I like to put a postcard page in with their name and address. The back page should always be about the creation of the book: When you made it, what you used, your contact info, etc. I bought the neatest journaling stamp from Teesha Moore and use that to write the details on the back page but you could always type something up on the computer and glue it to the back page. Have fun..make a bunch..and pass it forward! Have a blessed weekend! Kit

Wednesday, September 29, 2010

Surprise Party!


I just got back from Indiana where my niece, Sarah, planned a double surprise party for her Mom's and Grandmother's Birthdays. It was a big undertaking for a 20 year old but she was determined and I signed up to be her assistant. We started Friday Morning at 8 AM and the party with almost 100 attendees happened Saturday at 5 PM! Sarah made all the cakes and we made all the decorations ourselves. We picked a Polka Dot Theme since we were doing this for two different individuals and EVERYONE likes Polka Dots! Hot Pink, Lime Green and White were the colors because they are happy colors. This was Sarah's Grandmother's first time out of the assisted living facility since she went in from almost passing away in the hospital over a month ago so Sarah wanted it to be a very happy time...and it was! Sarah made and iced 10 polka dots. We had to do all the baking in Sarah's boyfriend's kitchen so it would be a secret. We cooled the cakes on his couch! We told Vicki the party was for Shirley and told Shirley the party was for Vicki since it was between both their real birthdays. We bought glass vases at Dollar Tree and filled them with colored gumballs and tied helium balloons to the top (thank you Cindy and Eric for helping!) and then bought short glass bowls and painted dots on them and put candles in them. I made a huge banner which I forgot to take a picture of. We set up the tables and decorated them. We put disposable camera's on each table. Sarah's Dad (my brother, Rog) took care of getting the fried chicken and all the fixins and the soda pop. We bought hot pink, lime green and white plates and cups and mixed them up. We had a chocolate fountain which I was in charge of (Whoooo Hooooo!) and Sarah's sister-in-law, Courtney, brought fresh pineapple and strawberries and we brought marshmallows for dipping. Her brother, Matt, set up the chairs for us. We got Tiara's and Glam Sunglasses for Vicki and Shirley, but my great nephew, Jack, took Vicki's! And a good time was had by all. Vicki cried so we knew we did GOOD! A party pulled off in 33 hours....Way to go, Neicy Weicy! Love you, Auntie Wantie.

Thursday, September 23, 2010

BeWitched Mini Art Quilt Necklace


Here is my latest creation I made for my niece for an early birthday present. When you flip up the flap, there is a beaded BOO! underneath to add a giggle. I am putting together a tutorial to post during Vanessa's Halloween Party on the 16th so please let all your friends know to check back if they would like to see how I make them. Thank you and make it a fabulous day...where ever you might be! Hugs, Kit

Wednesday, September 22, 2010

Thank you, Patty!


I received this RAAK book in the mail from Patty in Las Vegas and I love it. I wanted to share it with you and show you my favorite pages in it. Thank you, Patty.......it has put a smile on my face, for sure!

Wednesday, September 15, 2010

Latest Creation...Mini Art Quilt Necklace


I love making little Mini Art Quilts and have figured out a way to display them more often....I WEAR them!

Monday, September 13, 2010

My Guernsey Sis and her Gals


Here is my Guernsey Sis, Annie, and her two daughters, Anika and Elena. Aren't they gorgeous?! We had such fun together and I can't wait to get back to Guernsey to visit again. I think Annie may get back to visit before Christmas as we like to finish up our Christmas shopping together.

Meet Wind Dancer and her Peep!


This is the Nature Spirit Doll I received in a recent swap from Sheila in Louisiana. She has such great detail and little hidden treasures every where in her folds. Sheila also sent a Peep along to keep Wind Dancer company on her trip to which is adorable! Thank you, Sheila!

Another Grandbaby!


Here is our youngest Grand, Ruby, with her Mom and Dad enjoying dinner at Outback!

Sunday, September 12, 2010

Meet Bredis


Bredis is the Spirit Goddess of the Coral Reefs and she oversees keeping debris off of the Reefs to keep them alive and growing. She went to live with Robin in Mississippi for a Nature Spirit Doll Swap I joined a couple of months ago. She is made from all recycled items from other projects and one of my hubby's old green oxford shirts! SHHHHHHH! I also made a display box for her to live in.

Honey's......I'm Home!


I have had a whirlwind of life over the past month and don't know what to post first! My Guernsey Sis and her two daughters came for a visit for two weeks and we had such fun. I can't believe how fast the time went and can't wait for them to come back! Then I spent 10 days up in Pensacola with our FIVE Grand babies and I can't even start to tell you how much fun that was! I also met up with a friend I used to work with that I hadn't seen for quite awhile who lives in Destin, FL. She picked me up from the airport and then took me back when I had to head home. Then spent a night and day with our youngest granddaughter and now I am firmly planted back at home until the next adventure arises. I am making a trip up North at the end of this month but can't post about it here yet as it is a surprise birthday party and someone involved might be reading this. Hehehehehe.

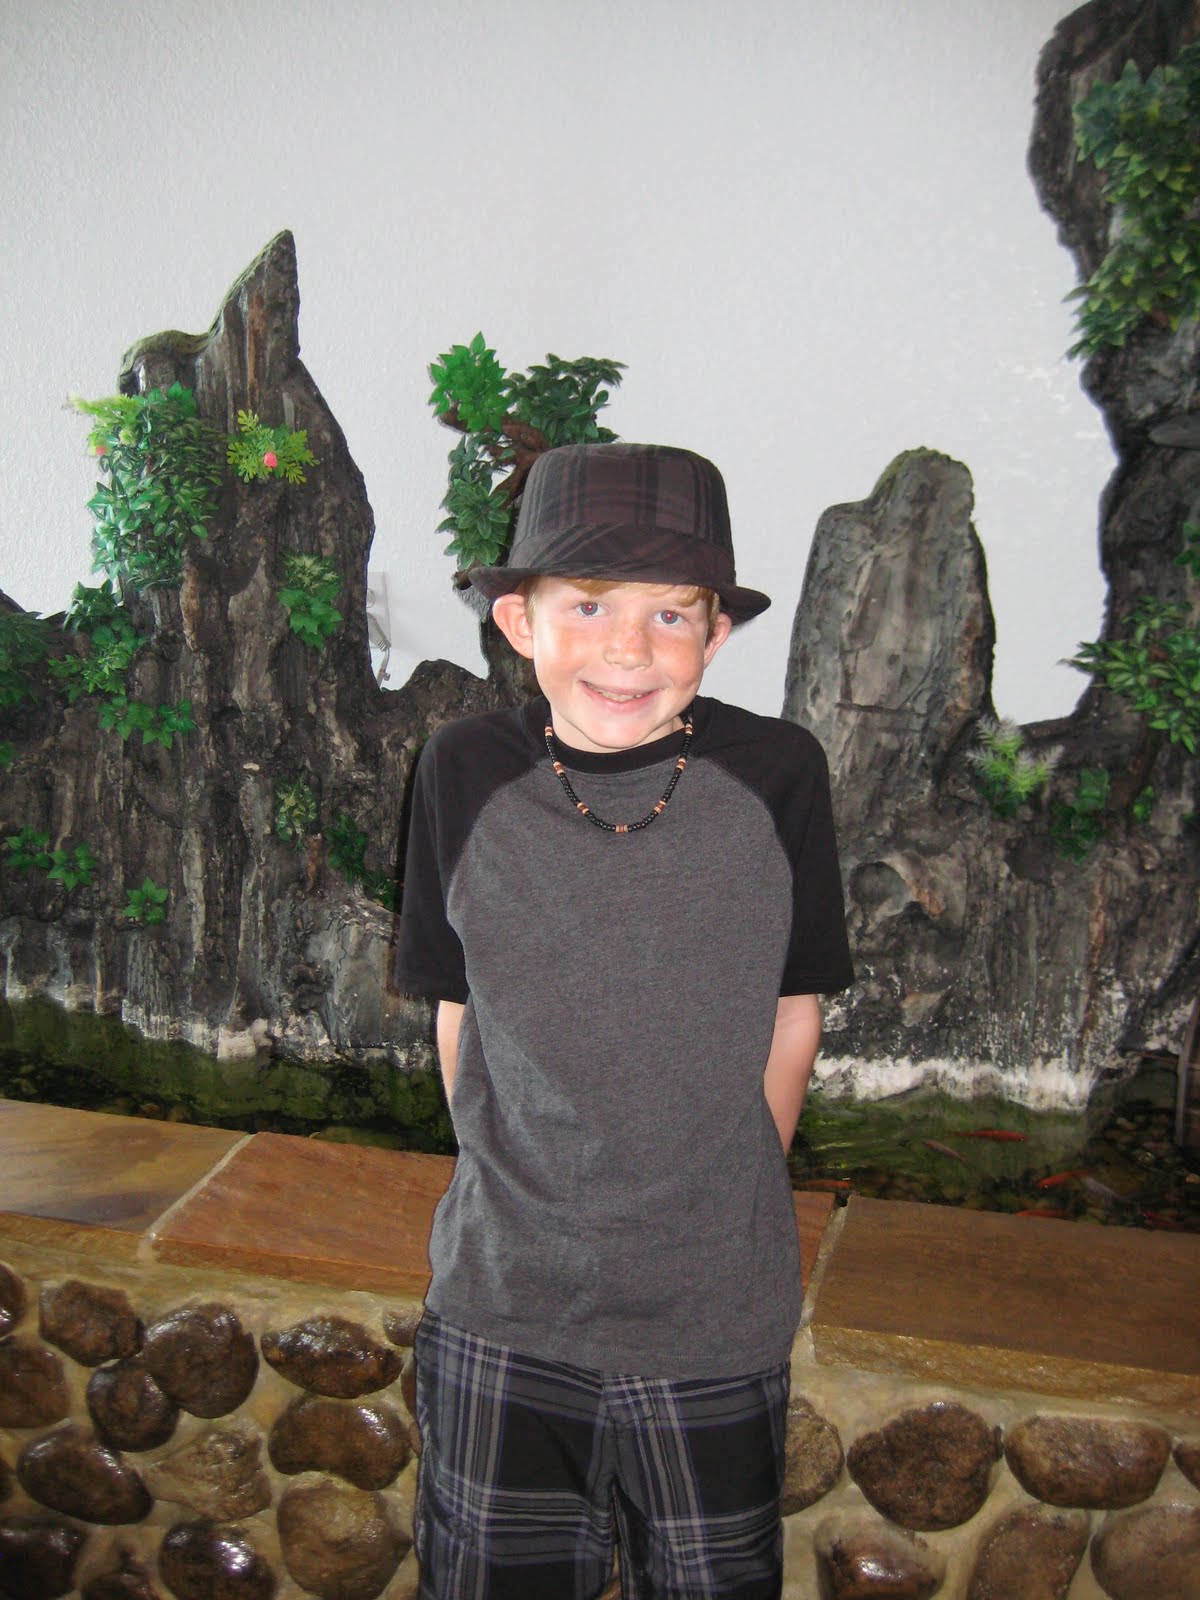
I have so many pics to post, I don't know where to start with those either! First I'm going to do the five Grand babies up in Pensacola....Nikki, Noah, Katie, Abby and Josh. I had a "date night" with each one of them ... just the two of us ... and did whatever they wished to do. Josh will be 5 next month and he wanted to go to Chuck E Cheese's and then to Target and Micky D's. Abby will be 7 in December and she wanted to go to the Mellow Mushroom for Pizza and then to Toys R Us. Katie will be 9 this month and she wanted Buffalo Bob's Wings and Chuck E Cheese's. Noah will be 11 in February and he wanted to go to Toys R Us and the Chinese Grand Buffet (Yeah, Noah!!!). Nikki was 12 in May and she wanted to go to Buffalo Bob's Wings and Books A Million (Yeah, Nikki!). They talked the whole time we were gone and I learned more about my Grand babies on those nights than I ever thought I'd know. LOVED IT! We will do that, again. I can't believe how fast they are growing up!