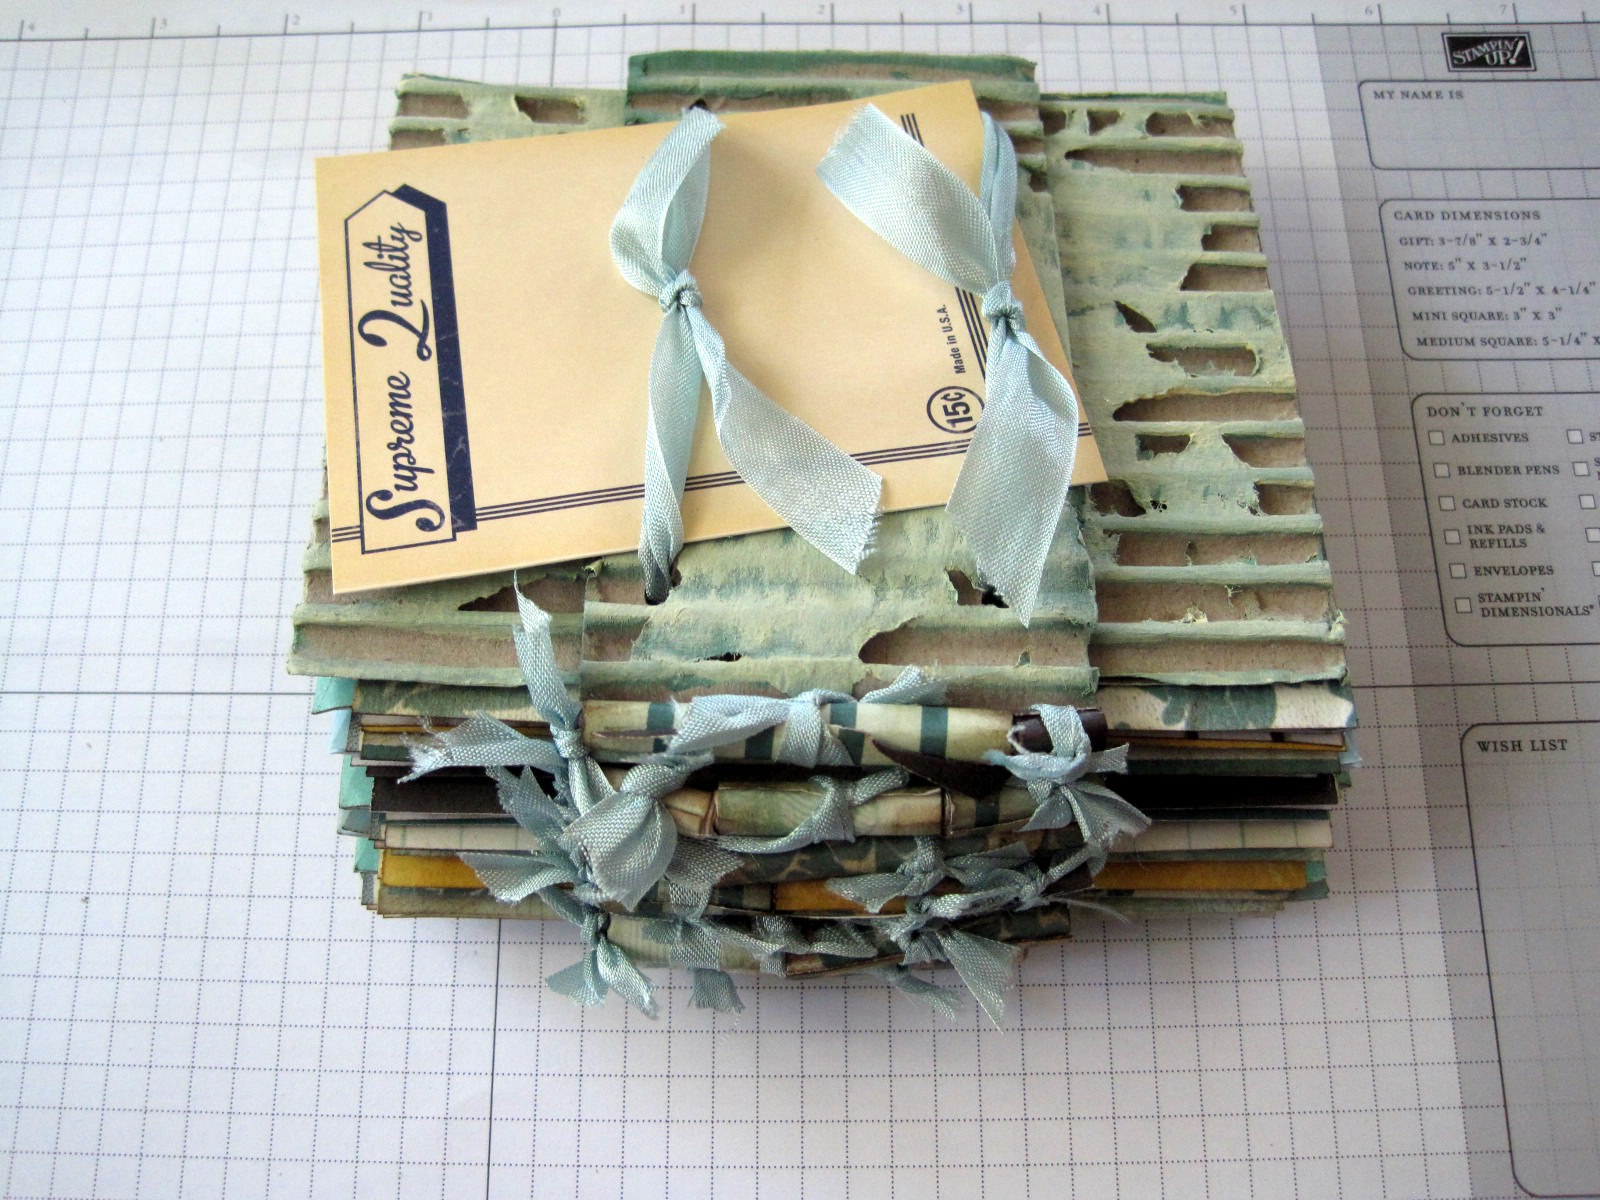
Until I can figure out my video camera to Windows 8 to YouTube mystery, I'm going to do some of the one page tuts on my blog. This is one that has been done in several different styles but I like this one where the inside flips peek out the front opening. This will be a go to for different picture sizes as there is room for both larger and smaller photos. As you know, my favorite pic size is the wallet size because my printer will print NINE on one page for me. Quick and easy and saves paper!

First we are going to take a 12" x 12" double sided designer paper. I am using a piece of Lost & Found by My Mind's Eye called Portobello Road "Party" Celebrate.

I have positioned it to get the best display of graphics so check your design before cutting!
The top piece measures 12" long and 4" high. It will be scored at 2.5", 2.75", 9.25" and 9.5"
Your second strip measures 12" x 3.5". It is scored at 3" and 9".
The third strip measures 12" x 2". Cut it down into (2) 3.5" x 2" and (1) 5" x 2" pieces. Cut this 5" x 2" piece from corner to corner to create two triangles. Score a .5" flap on the 2 straight edges on both triangles.
Your remaining 12" x 2.5" piece is cut into (2) 4.5" x 2.5" and (1) 3" x 2.5". On the (2) 4.5" x 2.5", score a .5" flap on the two short edges and one long edge on each.

Punch thumb holes as shown on the two 4.5" x 2.5" pocket pieces and the center top of the 12" x 3.5" piece which was your SECOND strip.
I rounded my corners on my wrap pieces, my 4.5" x 2.5" pocket lower corners and my 3" x 2.5" tag as shown. Angle cut the bottom corner of your two triangle pocket pieces and the top corners of your 3.5" x 2" tags. Punch a hole in the top of your tags.
Assembly:
 Attach your two pockets to each end of your 12" x 3,5" strip (SECOND STRIP),
Attach your triangles by glueing the bottom triangle flap UNDER your strip and your side flaps under being careful not to go past the 3" and 9" score lines.
Position your pocketed strip on top of your 12" x 4" strip, matching the bottom edge. Glue down the bottom and the sides (if desired) staying inside the 3" and 9" score line to create a pocket. I leave the sides open and still use it as a pocket.
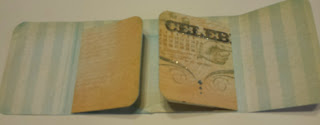


Tie a ribbon around it to close it if needed. This will be a fun one to make for friends with clever papers...looks complicated but takes less than 10 minutes! Let me see your creations please and thank you! Tell your friends that I will have tuts here for a while. Thank you, be blessed and HUGS! KitB

First we are going to take a 12" x 12" double sided designer paper. I am using a piece of Lost & Found by My Mind's Eye called Portobello Road "Party" Celebrate.

I have positioned it to get the best display of graphics so check your design before cutting!
The top piece measures 12" long and 4" high. It will be scored at 2.5", 2.75", 9.25" and 9.5"
Your second strip measures 12" x 3.5". It is scored at 3" and 9".
The third strip measures 12" x 2". Cut it down into (2) 3.5" x 2" and (1) 5" x 2" pieces. Cut this 5" x 2" piece from corner to corner to create two triangles. Score a .5" flap on the 2 straight edges on both triangles.
Your remaining 12" x 2.5" piece is cut into (2) 4.5" x 2.5" and (1) 3" x 2.5". On the (2) 4.5" x 2.5", score a .5" flap on the two short edges and one long edge on each.

Punch thumb holes as shown on the two 4.5" x 2.5" pocket pieces and the center top of the 12" x 3.5" piece which was your SECOND strip.
I rounded my corners on my wrap pieces, my 4.5" x 2.5" pocket lower corners and my 3" x 2.5" tag as shown. Angle cut the bottom corner of your two triangle pocket pieces and the top corners of your 3.5" x 2" tags. Punch a hole in the top of your tags.
Assembly:

Attach your triangles by glueing the bottom triangle flap UNDER your strip and your side flaps under being careful not to go past the 3" and 9" score lines.
Position your pocketed strip on top of your 12" x 4" strip, matching the bottom edge. Glue down the bottom and the sides (if desired) staying inside the 3" and 9" score line to create a pocket. I leave the sides open and still use it as a pocket.

Insert tags where ever you like and add your own photos filling the pockets and on the flaps. Decorate away!


Tie a ribbon around it to close it if needed. This will be a fun one to make for friends with clever papers...looks complicated but takes less than 10 minutes! Let me see your creations please and thank you! Tell your friends that I will have tuts here for a while. Thank you, be blessed and HUGS! KitB